
Simple Step-By-Step Guide for Printing Your Cyanotype Prints
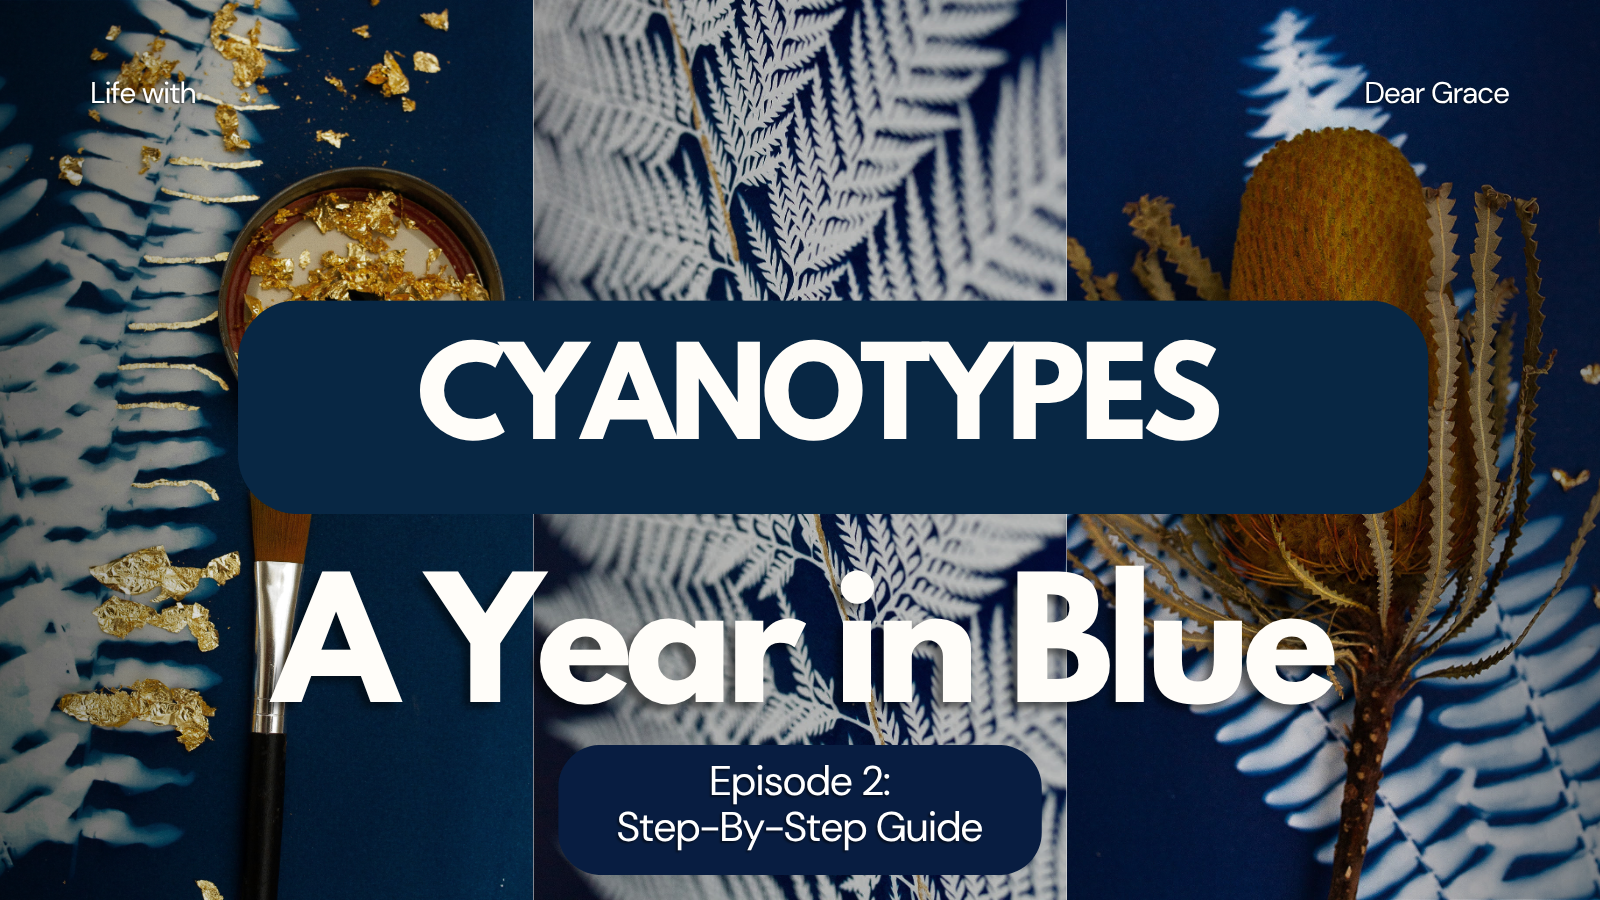
Click on the image to watch the simple step-by-step guide for printing your cyanotype prints.
Simple Step-By-Step Guide for Printing Your Cyanotype Prints - If you have been following along with A Year in Blue, you probably already watched and read my introduction. Now you are ready to join along and start learning about the development process in the best way to make your very own cyanotype prints. You'll start by purchasing your chemical solution/cyanotype kits. I've provided a list below to make sure you have everything you need to start your creative process. It's a good idea to be thinking about where you will be working since the cyanotype process does require you to work in a dark place/dark room. Remember, mixed potassium ferricyanide and ferric ammonium citrate has a chemical reaction to exposed areas. So having a work area to prepare your paper or fabric is going to be important. Here is what you will need:
Tools & Supplies
Distilled Water (regular water is fine too)
Foam brush or soft paintbrush
Cyanotype Paper: watercolor or cotton rag paper (heavier paper works best)
Drying rack or clean area to let coated paper dry
UV lamp or direct sunlight
Contact frame, sheet of glass, or acrylic sheet
Tray or large container for rinsing in cold water
Timer
Optional
Pressed leaves, flowers, lace, or everyday objects
Digital negatives printed on transparency film
Gloves
Masking Tape
Step-By-Step Guide

Mixing 1 part of solution A & B.
First, you will mix two separate solutions, then combine them right before coating. Follow the directions on the Cyanotype kit for solution A and solution B. Store each solution separately in the dark bottles the kit comes with. They keep for months. To create your sensitizer, mix equal parts of Solution A and Solution B in a small container. Prepare only what you need for the day, since this combined solution is light sensitive.

Coating mixed solution on watercolor paper.
Next, coat your paper. In a dim room, use a foam brush or hake brush to apply a thin, even coat of the mixed cyanotype solution to your paper. You can cover the entire printing area or brush artistically for organic edges. Let the watercolor paper dry completely in the dark space for at least 1-2 hours. I highly recommend 24 hours for better results. You can prepare multiple sheets at once.
Then, arrange your composition. Once dry, your coated watercolour paper is ready. You can lay leaves, flowers, natural fabrics, lace, or objects onto the paper. Place a piece of glass or acrylic sheet on top to keep everything flat. I like to use two pieces of of acrylic sheets and use clips to keep the paper from moving. You can also use a digital negative/photographic negative on coated paper. Print your image as a high-contrast black and white negative on transparency film. Then place the negative directly on the coated paper. Cover it with glass for a sharp print.

Laying out composed watercolor paper, covered with an acrylic sheet and held together with paper clips.
Afterwards, you will expose your covered layout to UV light source. For full sun, you can expose for 10-20 minutes depending on sun strength. On cloudy days, you would need longer exposure time to get the beautiful print you are looking for. If you are using a UV lamp or box, you can expose for 3-10 minutes depending on the device power. Overexposing slightly is better than underexposing. The key is to experiment and have fun. So good luck finding your sweet spot. The time of day will really depend how long you expose for this photographic process.

Developing the cyanotype print with a water rinse.
Following exposure, you will develop your print. Developing is simple. Just rinse in water. If your are working outside, use your hose. You can also give your print a water bath at your kitchen sink. Rinse your print in cool running water for a good 5-10 minutes. Watch the yellow-green coating wash away and the blue deepen. You can also add an additional step and pour a little bit of hydrogen peroxide on to your print. Your print will have extra contrast. You will see that your print will instantly oxidize to it's final blue. Be sure to rinse the peroxide off. Once the water runs clear and the highlights look clean, the final print is done. You will see that beautiful Prussian blue.

Taking my cyanotype print to dry on a flat surface.
Finally, drying and curing is your final step. for the best drying process, let the print dry flat. The blue will darken over an amount of time, typically 24-48 hours. You will love this process as it will make you feel like an alchemist. Each time, you will see different results. It truly is exciting.
Tips for Best Results
1. Paper choice matters. Watercolor paper (cold-pressed or hot-pressed) is ideal. Thin papers may warp or tear.
2. Use pressed leaves. Flat leaves (organic material) and flowers create the best cyanotype impressions.
3. Avoid indoor light when coating. Regular indoor lighting is usually safe, but avoid direct sunlight or strong UV sources
4. Experiment with tones. You can tone cyanotype photography using tea, coffee, wine, and tannin-rich botanicals. Toning can create browns, purples, and charcoal hues.

Cyanotype of a fern all dried.
Cyanotype printing is a beautiful blend of photography, art, and science. Sun prints are easy to do at home with just a few materials. Once you master the basic photographic printing process, you can experiment with toning, alternative papers, fabrics, or more advanced photographic negatives. The Bluest of Blues is one of my favorite books about cyanotypes. It's a children's book but I love it SO much. I highly recommend adding it to your collection regardless your age to learn more about the first photographic images made by Anna Atkins. I can't wait to see what we create together. Thanks for following along with A Year in Blue.
Affiliate Disclosure: This article contains affiliate links to camera gear and lenses. If you click through and make a purchase, I may earn a commission. This helps me continue creating free photography content for readers like you — thank you for your support!
